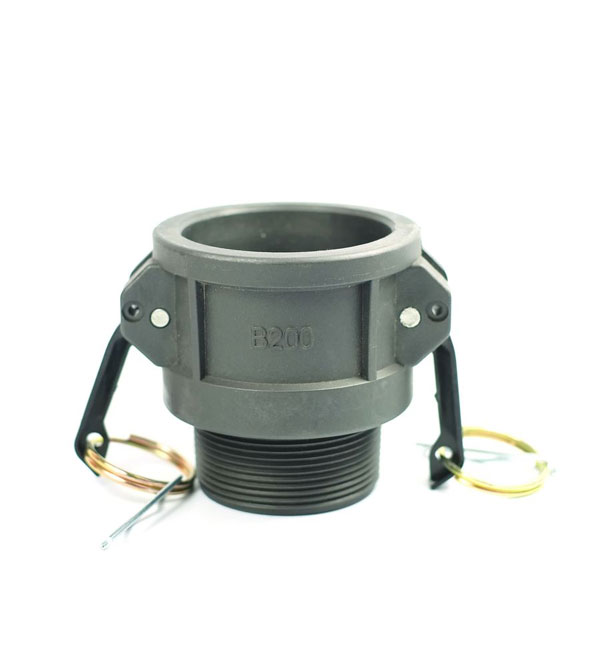
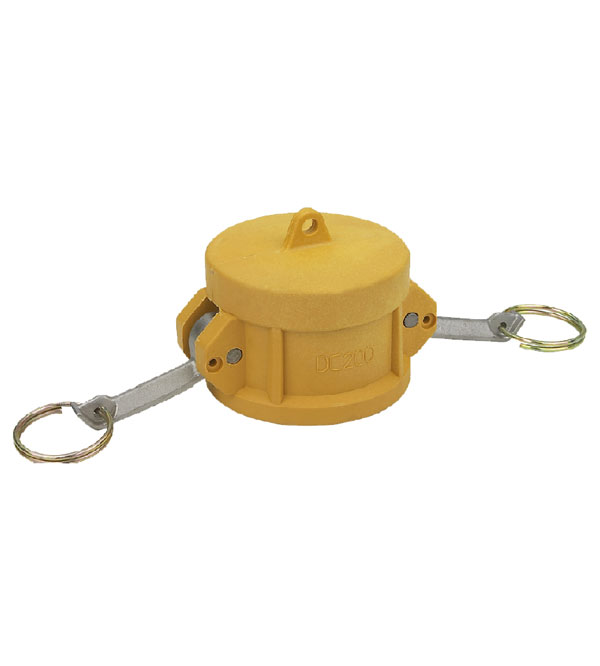
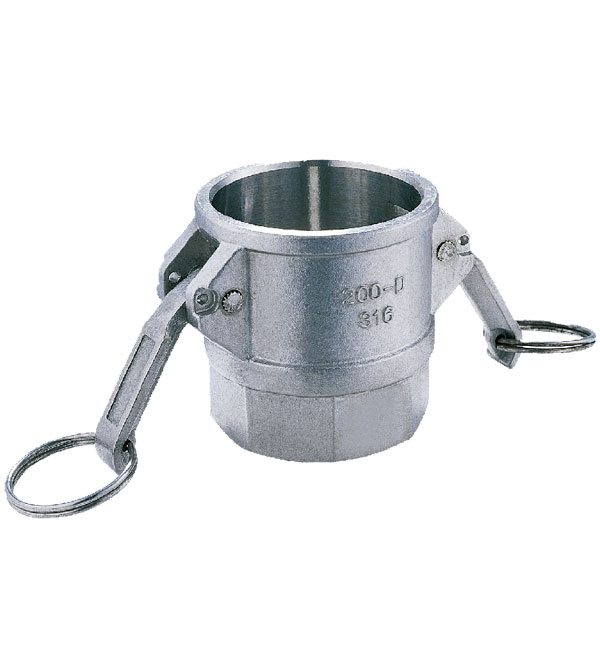
A mid-sized specialty chemical plant adopted a new predictive maintenance (PdM) strategy for its fluid transfer systems, focusing on its hundreds of K&G Camlock couplings. The Process: During a scheduled monthly inspection (following a K&G checklist), a technician found unusual polishing wear on the cam arms of several couplings in a high-pressure solvent loop. While not yet leaking, the wear indicated misalignment or over-tightening. The Action: The maintenance team scheduled a repair window during the next planned unit slowdown. They replaced the worn cam arms with K&G OEM parts and realigned the hose supports. The Result: The repair took 2 hours of planned downtime. Post-repair monitoring showed the wear pattern stopped. The PdM program prevented what would have likely been a sudden coupling failure, causing a high-pressure solvent leak, an emergency shutdown, and an estimated 48 hours of lost production worth over $250,000. This case proves that a small investment in systematic inspection of reliable K&G components pays massive dividends.
Category: KangGuang
-
Inventory Management for Camlock Couplings & Spares: Best Practices Guide
Carrying too much inventory ties up capital; carrying too little risks production stoppages. For Camlock couplings, implement these best practices: 1. Standardize: Reduce variety. Limit the types, sizes, and materials used in your plant to a few key K&G models. 2. Criticality Analysis: Classify parts. “Critical” (A-Class): Unique couplings whose failure stops a key process. Stock complete spares. “Essential” (B-Class): Common wear parts like O-ring kits and cam arms. Maintain healthy stock. “General” (C-Class): Standard couplings for non-critical lines. Keep minimal stock. 3. Organize Storage: Use labeled bins, shadow boards, and a first-in-first-out (FIFO) system. Protect O-rings from light and ozone. 4. Use a CMMS: A Computerized Maintenance Management System to track stock levels, set reorder points, and log usage history. K&G can help you conduct an initial audit and recommend a tailored starter spare parts kit.
-
The True Cost of a Camlock Coupling: A Total Cost of Ownership (TCO) Analysis
The initial purchase price is only a fraction of a coupling’s true cost. Total Cost of Ownership (TCO) includes: 1. Acquisition Price: The invoice cost. 2. Installation Cost: Labor to install and integrate. 3. Operating Cost: Energy losses due to pressure drop, fluid loss from leaks. 4. Maintenance Cost: Cost of inspection, spare parts, and labor for repairs. 5. Downtime Cost: The most significant factor. Production losses due to a coupling failure. 6. Disposal/Replacement Cost. A cheap coupling may have a low “1. Acquisition Price,” but its higher likelihood of failure skyrockets costs “3, 4, and 5.” A K&G coupling, with its superior materials, precise manufacturing, and reliable performance, minimizes operating, maintenance, and downtime costs. Over a 5-10 year lifecycle, the K&G product often has a TCO that is 50-70% lower than a low-quality alternative. Invest in reliability.
-
Sourcing Replacement Parts: The Risks of Generic vs. The Value of K&G OEM Parts
Tempted by a cheaper, generic O-ring or cam arm? It could be a costly mistake. Precision Engineering: K&G OEM parts are manufactured to exacting tolerances. A generic O-ring might have a slightly different cross-section, leading to inadequate compression and leaks. Material Integrity: We certify the chemical composition and grade of our stainless steel, aluminum, and elastomers. Generic parts may use inferior alloys or compounds that fail prematurely or contaminate your product. System Warranty: Using non-OEM parts can void warranties on the entire coupling and potentially your system’s insurance coverage. Total Cost: A $5 generic seal that fails in a week, causing a $10,000 downtime event, is no savings. K&G OEM parts are designed to work in perfect harmony, ensuring the coupling performs as originally engineered for its full service life. Protect your investment.
-
Repair vs. Replace: A Cost-Benefit Guide for Your Camlock Couplings
When a coupling fails, the knee-jerk reaction is often to replace it. However, a repair is frequently more economical. K&G Machinery provides this decision framework: REPAIR when the issue is isolated to a wear part: a worn O-ring, a broken dust plug, or a single damaged cam arm. Our affordable repair kits can restore the unit to like-new condition in minutes. REPLACE the entire coupling when there is structural damage: a cracked or deeply corroded body, a severely bent or seized collar, or stripped threads on an adapter. The cost of labor to attempt a repair on a compromised body outweighs the safety risk. Consider also the criticality of service: a coupling handling water in a non-critical area may be repaired, while one handling toxic chemicals should be replaced at the first sign of body damage. K&G’s Camlock Couplings modular design makes most repairs simple.
-
Preventive Maintenance Schedule for Industrial Camlock Coupling Systems
A proactive maintenance program is the most cost-effective way to manage your fluid transfer assets. K&G Machinery recommends the following schedule: Daily/Pre-Use: Visual inspection for obvious damage, leaks, and ensure cam arms are fully engaged. Monthly: Detailed inspection: Check O-rings for wear/cuts, inspect cam arms and grooves for wear or deformation, verify labels/color-coding are intact. Clean camlock couplings used with adhesives or setting materials. Annually: Comprehensive maintenance: Disassemble, clean all components, replace all O-rings as a set (not just the leaky one), lubricate cam arm pins with a compatible grease, and perform a function test. Record all findings. Use our downloadable checklist to track the history of each coupling, especially in critical service. This disciplined approach catches small issues before they cause production stops or safety incidents.
-
Advanced Troubleshooting Guide for Camlock Coupling Leaks & Failures
Simple leaks are one thing, but recurring or mysterious failures require systematic diagnosis. Step 1: Isolate the Failure Mode. Is it a consistent weep, a spray, or a sudden blow-out? Step 2: Inspect the Seal. Is the O-ring cut, swollen, hard, or flattened? This indicates chemical incompatibility, incorrect installation, or excessive temperature. Step 3: Check the Mating Surfaces. Look for scratches, pitting, or deformation on the adapter’s sealing gland and the coupler’s face. Step 4: Verify the Locking Mechanism. Are the cam arms worn, bent, or loose? Does the collar rotate freely? Step 5: Review System Conditions. Has the operating pressure or temperature spiked beyond ratings? Is there excessive vibration or side load on the connection? K&G’s Camlock Coupling technical support can often diagnose issues from photos. Common root causes we see are using the wrong seal material, improper cam arm engagement, and incompatible fluid conditions.
-
Flow Dynamics: Understanding Pressure Drop in Camlock Coupling Systems
In large-scale transfer operations, pressure drop translates directly into pumping energy costs. K&G Machinery designs its Camlock couplings with flow efficiency in mind. Unlike restrictive couplings, our standard design maintains a full, smooth bore that aligns with the hose ID, creating minimal turbulence. The key factors affecting pressure drop are the coupling’s internal diameter, surface roughness, and any abrupt changes in flow path. Our electropolished sanitary couplings offer the lowest friction. For critical high-flow applications, we can provide computational fluid dynamics (CFD) analysis of your specific configuration. As a rule of thumb, the pressure drop across a properly sized K&G coupling is negligible compared to the hose itself. Properly designing your system with adequate pipe/hose sizing and minimizing 90-degree bends is more impactful for overall efficiency.
-
Retrofitting Guide: Replacing Threaded Connections with K&G Camlock Couplings
Is your facility slowed down by rusty, seized, or time-consuming threaded connections? Retrofitting with K&G Machinery Camlock couplings is a high-ROI upgrade. Benefits: Drastically reduce connection time, eliminate the need for pipe wrenches and sealants, and improve safety by minimizing worker strain and exposure. Process: 1. Audit: Identify target connections with high changeover frequency. 2. Select Adapters: Choose K&G Type D (male thread to Camlock) or Type C (female thread to Camlock) adapters to mate with your existing threads. 3. Install: Simply screw the adapter onto the existing threaded pipe—use thread sealant compatible with your fluid. 4. Implement: Attach the corresponding Camlock coupling to the hose end. The transformation is immediate. We’ve helped plants cut line changeover time by over 70%, paying back the investment in weeks.
-
Step-by-Step Guide: Pressure Testing Your Camlock Coupling System
Before commissioning a new system or after major modifications, a proper pressure test is crucial. Safety First: Always follow a written procedure and use protective barriers. 1. Preparation: Isolate the test section with blinds or valves. Install calibrated pressure gauges and a relief valve set to 110% of test pressure. 2. Filling: For hydrostatic tests, fill the system completely with water, venting all air. 3. Pressurization: Gradually increase pressure to 1.5 times the Maximum Allowable Working Pressure (MAWP) as per ASME standards. Hold for a minimum of 10 minutes. 4. Inspection: Check every K&G coupling connection, weld, and joint for leaks, distortion, or weeping. A visual inspection is key. 5. Documentation: Record test pressure, hold time, and inspector’s findings. K&G’s robust couplings are designed to withstand these tests, verifying the integrity of your entire installation.


