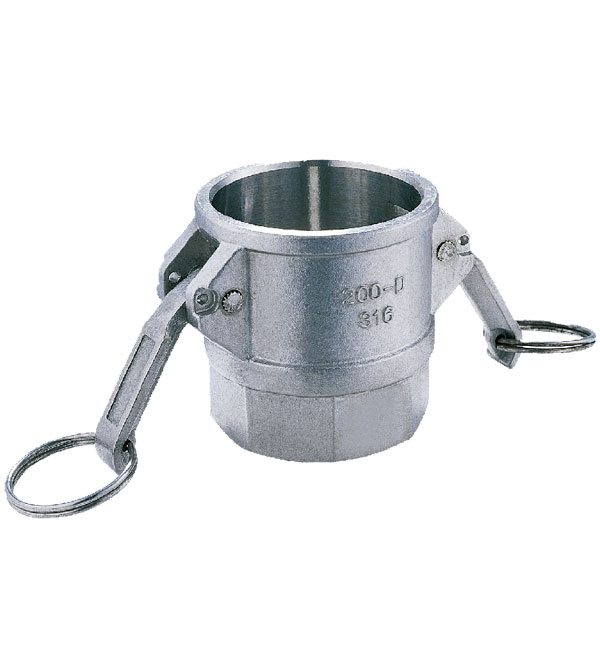
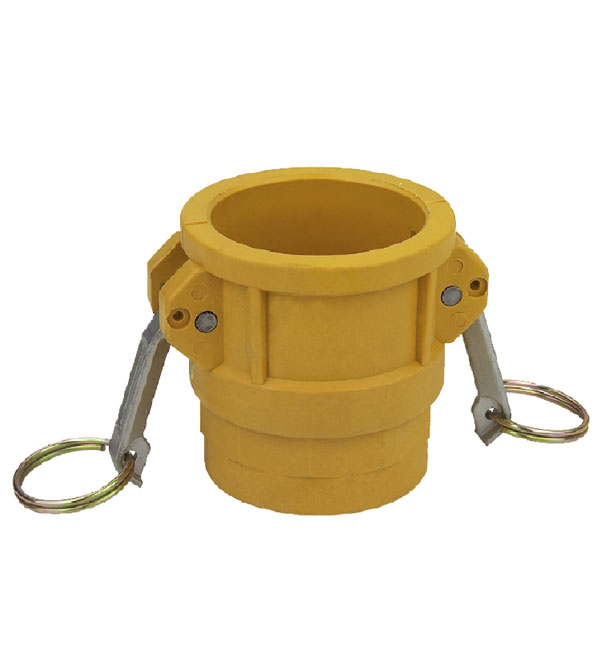
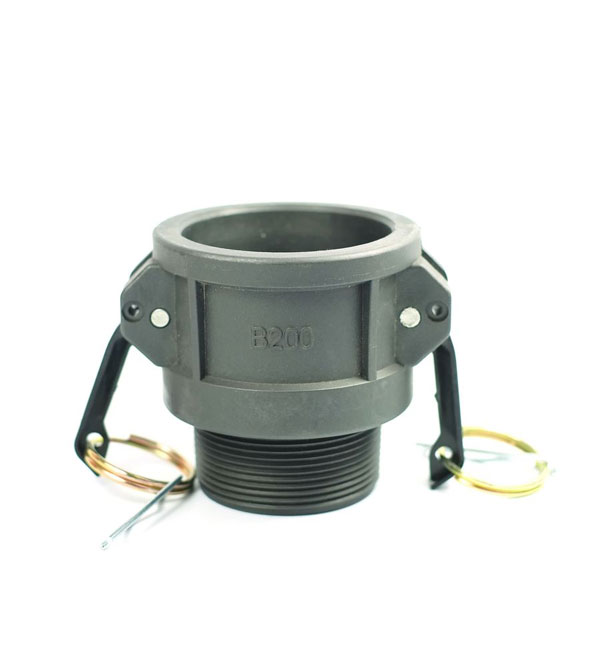
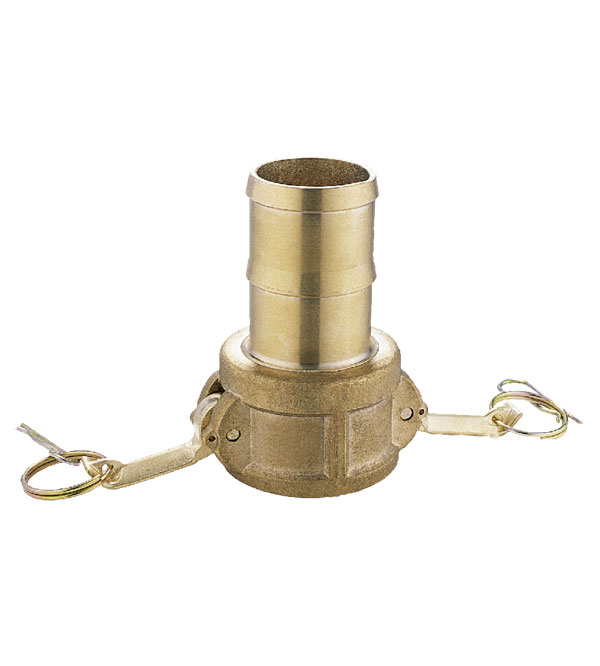
Find Hot

Enterprise hot news

Category: KangGuang

  • Sanitary Camlock Couplings for Pharmaceutical & Bio-Processing

    In pharmaceutical and bioprocessing, contamination is not an option. K&G Machinery’s sanitary Camlock couplings are engineered to meet the highest standards of purity and cleanability. Our couplings feature electropolished 316L stainless steel surfaces with Ra ≤ 0.8 µm, preventing bacterial adhesion and enabling effective Clean-in-Place (CIP) and Sterilize-in-Place (SIP) procedures. All wetted materials comply with FDA 21 CFR and USP Class VI requirements. The seamless design eliminates dead legs where product or cleaning agents could accumulate. For aseptic processing or vaccine production, specify K&G’s proprietary “Tri-Clamp” compatible Camlock adapters to integrate seamlessly into your validated systems. We understand that downtime is costly, which is why our quick-connect design allows for rapid line changeovers while maintaining a sterile barrier.


  • Common Camlock Coupling Mistakes & How to Avoid Them

    Common Camlock Coupling Mistakes & How to Avoid Them

    Camlock couplings are famously reliable, but even the best equipment can fail if used incorrectly. These common mistakes lead to downtime, product loss, safety incidents, and unnecessary costs. Learn how to identify and avoid these pitfalls to ensure your operations run smoothly and safely.

    Mistake #1: Mismatching Coupling Types

    • The Error: Trying to connect two male (Type A) or two female (Type B) ends, or using incompatible adapter types.

    • The Risk: It won’t seal, causing immediate and catastrophic leaks. It can also damage the coupling lugs and grooves.

    • The Solution: Remember the golden rule: Type A (Male) always connects to Type B (Female). Double-check the types before connection.

    Mistake #2: Ignoring Chemical Compatibility

    • The Error: Using an aluminum or polypropylene coupling with a chemically aggressive fluid it can’t handle.

    • The Risk: Rapid corrosion, degradation, coupling failure, fluid contamination, and dangerous spills.

    • The Solution: Always consult a chemical compatibility chart before selecting your coupling material. When unsure, opt for 316 stainless steel.

    Mistake #3: Connecting or Disconnecting Under Pressure

    • The Error: Failing to fully depressurize the system before attempting to disconnect the coupling.

    • The Risk: The coupling can violently separate, turning the pressurized fluid into a dangerous projectile, causing whipping hoses, injuries, and spills.

    • The Solution: Always depressurize and drain the line before disconnecting. Make this a non-negotiable safety protocol.

    Mistake #4: Incomplete Locking

    • The Error: Not pulling the cam arms down fully into the locked position.

    • The Risk: The coupling may hold initially but can blow apart under pressure, causing a sudden leak or failure.

    • The Solution: After connection, always verify the cam arms are fully down and perform a tug test. You should feel a positive lock.

    Mistake #5: Using Damaged or Worn-Out Couplings

    • The Error: Continuing to use couplings with damaged cam arms, cracked bodies, worn-out threads, or missing O-rings.

    • The Risk: A single damaged component compromises the entire coupling’s integrity, leading to leaks and failures.

    • The Solution: Implement a regular inspection schedule. Replace worn O-rings, damaged dust plugs, and any coupling that shows signs of excessive wear or cracks.

    Mistake #6: Mixing and Matching Standards

    • The Error: Assuming all “Camlock” couplings from different brands or countries are identical.

    • The Risk: While many are interchangeable, slight variations in dimensions between standards (e.g., ISO vs. AAR) can lead to poor seals, leaks, and difficulty connecting.

    • The Solution: Specify the standard you need (e.g., ISO 2852) when ordering and try to stick to one standard within your operation.

    Mistake #7: Neglecting the O-Ring

    • The Error: Forgetting that the O-ring is a critical sealing component and not specifying the right material for the fluid.

    • The Risk: A standard Buna-N O-ring will swell and fail if used with gasoline, just as an EPDM O-ring will fail with petroleum oils.

    • The Solution: Specify the O-ring material when ordering. Keep a stock of common replacement O-rings (Buna-N, Viton®, EPDM) and replace them during maintenance.

    Avoid Costly Downtime. Shop our online store for replacement parts, O-ring kits, and high-quality Camlock couplings designed to prevent these common errors.

  • How to Connect and Disconnect Camlock Couplings Safely

    Camlock couplings are designed for safety and efficiency, but only when used correctly. Improper operation can lead to sudden releases, spills, and workplace injuries. This step-by-step guide will ensure you and your team handle Camlock couplings safely every time.

    Before You Begin: Essential Safety Precautions

    1. Personal Protective Equipment (PPE): Always wear appropriate PPE, including safety glasses, gloves, and chemical-resistant clothing if handling hazardous media.

    2. Depressurize the Line: Before connecting or disconnecting, ensure the system is fully depressurized and the line is drained if possible.

    3. Inspect the Coupling: Check for damage, worn cam arms, cracks, or a damaged/missing O-ring. Never use a defective coupling.

    4. Check Compatibility: Ensure the two couplers are designed to connect (e.g., Type A to Type B) and are made of compatible materials for the fluid.

    How to CONNECT a Camlock Coupling: A Step-by-Step Guide

    Step 1: Align
    Hold the Type A (Male) Adapter and the Type B (Female) Coupler straight and align them. Ensure the lugs on the male end line up with the openings on the female coupler.

    Step 2: Insert
    Push the male adapter fully into the female coupler until it seats completely. The base of the male adapter should be flush against the face of the female coupler.

    Step 3: Lock
    Grab the cam arms (levers) on the female coupler’s collar. Pull them down firmly until they are in the fully locked position. You should hear or feel a distinct “click” or positive lock.

    Step 4: Verify
    After locking, perform a tug test. Gently try to pull the two halves apart to confirm they are securely locked. Slowly introduce pressure to the system and check for any leaks.

    (Image/Video Suggestion: A short GIF or video showing the smooth motion of insertion and locking would be highly effective here.)

    How to DISCONNECT a Camlock Coupling: A Step-by-Step Guide

    Step 1: Depressurize and Drain
    This is the most critical safety step. Fully depressurize the system and drain any residual fluid from the line. Be aware that fluid may be released during disconnection.

    Step 2: Unlock
    Lift the cam arms on the female coupler to their fully upright and unlocked position.

    Step 3: Separate
    Pull the two halves straight apart. If they are stuck, do not use excessive force. Check that the system is fully depressurized and that the cam arms are completely unlocked.

    Step 4: Cap (If not in use)
    Immediately cap open ends with Type M (Blanking Plugs) and Type DP (Dust Plugs) to prevent contamination and damage.

    What NEVER to Do

    • NEVER try to connect or disconnect under pressure.

    • NEVER use a hammer, pipe, or other tool for extra leverage on the cam arms.

    • NEVER modify, weld, or alter a coupling.

    • NEVER force a connection if the halves don’t align easily.

  • How to Choose the Right Camlock Coupling: A 5-Step Buyer’s Guide

    Selecting the wrong Camlock coupling can lead to leaks, chemical incompatibility, equipment failure, and serious safety hazards. This frustration is entirely avoidable. Our simple 5-step buyer’s guide will give you the confidence to choose the right Camlock coupling for your specific application, ensuring optimal performance, safety, and cost-effectiveness.

    Step 1: Identify the Fluid or Media

    The chemical composition of what you’re transferring is the most important factor in your decision.

    • What to ask: What specific fluid, gas, or solid (e.g., powder, slurry) will flow through the coupling?

    • Why it matters: Different materials resist corrosion and degradation differently. Using an aluminum coupling with a strong acid will cause rapid failure.

    • Action: Make a list of all media the coupling will encounter, including cleaners and sanitizers.

    Step 2: Select the Coupling Material

    Based on your fluid, choose a material that offers full chemical compatibility.

    • Stainless Steel (304 or 316): The premium choice for corrosive chemicals, high temperatures, high pressures, and sanitary applications (food, pharma). Excellent durability.

    • Aluminum: The all-rounder. Ideal for non-corrosive applications like fuel, oil, water, and air. Lightweight and cost-effective.

    • Polypropylene: A budget-friendly thermoplastic for highly corrosive chemicals at low temperatures and pressures. Not suitable for steam or high heat.

    • Action: Consult a chemical compatibility chart. When in doubt, 316 stainless steel is the safest, albeit more expensive, choice.

    Step 3: Determine the Correct Size

    Size is critical for flow rate and preventing pressure drop.

    • What to ask: What is the inner diameter (I.D.) of your hose or pipe?

    • Why it matters: The coupling size (e.g., 1″, 2″, 3″) must match the hose I.D. to ensure a proper fit and avoid flow restrictions.

    • Action: Measure your hose or pipe’s inner diameter. Do not guess. Standard sizes are in inches (e.g., 1″, 1.5″, 2″, 3″, 4″).

    Step 4: Confirm Pressure and Temperature Ratings

    Never operate a coupling beyond its designed limits.

    • Pressure (PSI/Bar): Know your system’s maximum operating pressure. Include a safety margin for pressure spikes. Stainless steel handles the highest pressures, polypropylene the lowest.

    • Temperature (°F/°C): Know the temperature of your media and the environment. Remember, high temperature can lower the effective pressure rating of the coupling.

    • Action: Always choose a coupling whose ratings exceed your system’s maximum pressure and temperature.

    Step 5: Choose the Right Type and Seal

    Complete your system by selecting the correct ends and seal material.

    • Type (A, B, C, D, etc.): Refer to our [Camlock Types Guide]. Remember, Type A (Male) always connects to Type B (Female). Types C, D, E, and F adapt to different threaded connections.

    • Seal Material (O-Ring): The O-ring must be compatible with your fluid and temperature.

      • Buna-N (Nitrile): Good for general purpose use (water, petroleum, air).

      • Viton® (FKM): Excellent for high temperatures and chemicals like oils, acids, and fuels.

      • EPDM: Best for hot water, steam, and weathering.

    • Action: Plan your connection points and select the adapter types needed. Specify your O-ring material at the time of purchase.

    Still Have Questions? You’re Not Alone. Choosing the right coupling is a technical process. Contact our experts today for free, personalized help in selecting the perfect Camlock coupling for your needs.

  • Camlock Coupling Types: A Complete Guide to A, B, C, D, DP, E, F, M Adapters

    The universal adoption of Camlock couplings is largely thanks to their standardized typing system. This system ensures that couplings from different manufacturers can interoperate seamlessly. Understanding these Camlock coupling types is the most critical step in building a safe and functional fluid transfer system.

    Introduction to Camlock Coupling Types

    Camlock types are identified by letters (A, B, C, D, E, F, M, DP). Each type defines a specific function and connection style. The most basic and essential rule to remember is: Type A (Male) always connects to Type B (Female). All other types are variations designed to connect to different equipment.

    The Complete Breakdown of Camlock Coupling Types

    Here is a detailed guide to each standard Camlock adapter type:

    Type A – Male Adapter

    • Description: This is the standard “plug” or male end. It features two lugs and a built-in O-ring for sealing.

    • Connects To: Type B (Female Coupler).

    • Primary Use: The male half of a standard hose-to-hose connection.

    Type B – Female Coupler

    • Description: This is the standard “socket” or female end. It has a grooved body and a rotating collar with cam arms.

    • Connects To: Type A (Male Adapter).

    • Primary Use: The female half of a standard hose-to-hose connection.

    Type C – Female Threaded Adapter

    • Description: This is a Male Adapter (like Type A) but with female NPT threads on its tail end.

    • Connects To: Type B (Female Coupler).

    • Primary Use: To connect a female-threaded pipe or hose fitting to a Type B coupler.

    Type D – Male Threaded Adapter

    • Description: This is a Female Coupler (like Type B) but with male NPT threads on its tail end.

    • Connects To: Type A (Male Adapter).

    • Primary Use: To connect a male-threaded pipe or hose fitting to a Type A adapter.

    Type E – Female Threaded Coupler

    • Description: This is a less common type that functions as a female coupler with female NPT threads.

    • Connects To: Type A (Male Adapter).

    • Primary Use: A specialized adapter for specific plumbing configurations.

    Type F – Male Threaded Coupler

    • Description: This is a less common type that functions as a male adapter with male NPT threads.

    • Connects To: Type B (Female Coupler).

    • Primary Use: A specialized adapter for specific plumbing configurations.

    Type M – Blanking Plug

    • Description: A solid plug with a groove, designed to seal an unused female coupler.

    • Connects To: Type B (Female Coupler).

    • Primary Use: Safety and contamination prevention by capping open ends.

    Type DP – Dust Plug

    • Description: A cap designed to cover and protect an unused male adapter.

    • Connects To: Type A (Male Adapter).

    • Primary Use: To protect the O-ring and threads of a male adapter from damage and dirt.

    Camlock Coupling Type Compatibility Chart

    Your Equipment Has… You Need This Camlock Type
    A Hose End Type A (Male) or Type B (Female)
    Female NPT Threads Type C (F NPT Adapter) or Type E (F NPT Coupler)
    Male NPT Threads Type D (M NPT Adapter) or Type F (M NPT Coupler)
    To Cap a Female Coupler Type M (Blanking Plug)
    To Cap a Male Adapter Type DP (Dust Plug)

    Still Unsure Which Camlock Type You Need? Contact our experts today for free technical support and ensure you get the right connection every time.